Mediasite: Uploading and Publishing Videos on Moodle
Mediasite is the central video storage platform at HSL for completed productions. Videos stored here can be published on Moodle, the HSL website, or any other website.
MyMediasite is your personal media platform connected to Mediasite and Moodle, allowing you to provide media (e.g., lecture recordings, presentation videos) to students. You can also organize videos into channels for better structure and clarity.
Note: At Landshut University, the Mediasite Desktop Recorder is currently unavailable. Therefore, only videos in the formats .mp4, .mov, .avi, .wmv, .wav can be uploaded.
Opening MyMediasite
1. Access the login page at https://mediasiteweb.haw-landshut.de/Mediasite/MyMediasite.
2. Enter your login credentials, which are the same as your Moodle credentials. Then, click on Login. 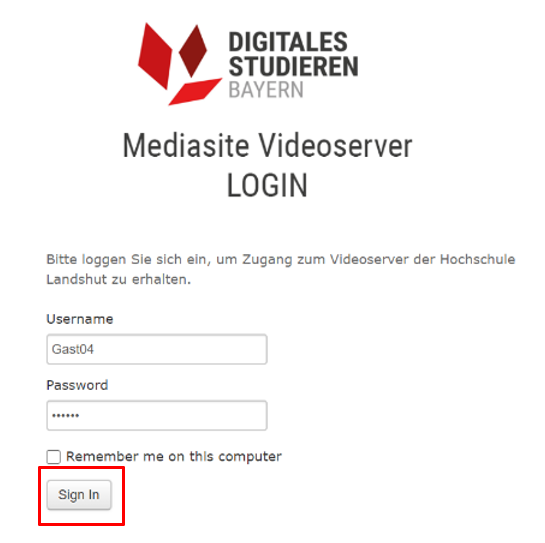
3. During the first login, you will set your name, email address, and time zone for Mediasite. Then click on Continue.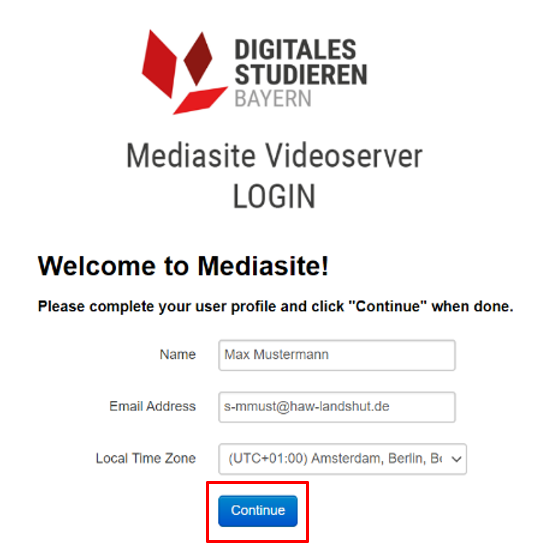
4. A confirmation email will be sent to you.
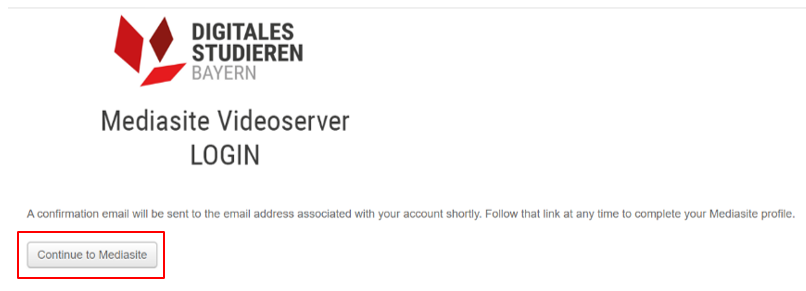
 Click on Continue to Mediasite to access your profile.
Note: If you do not receive a confirmation email, click on Continue to Mediasite to proceed to your profile.
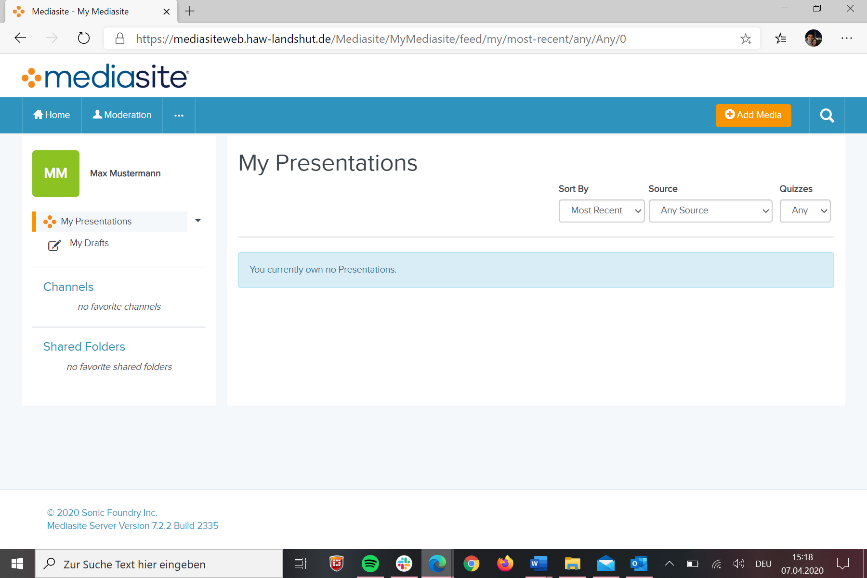
Interface Overview
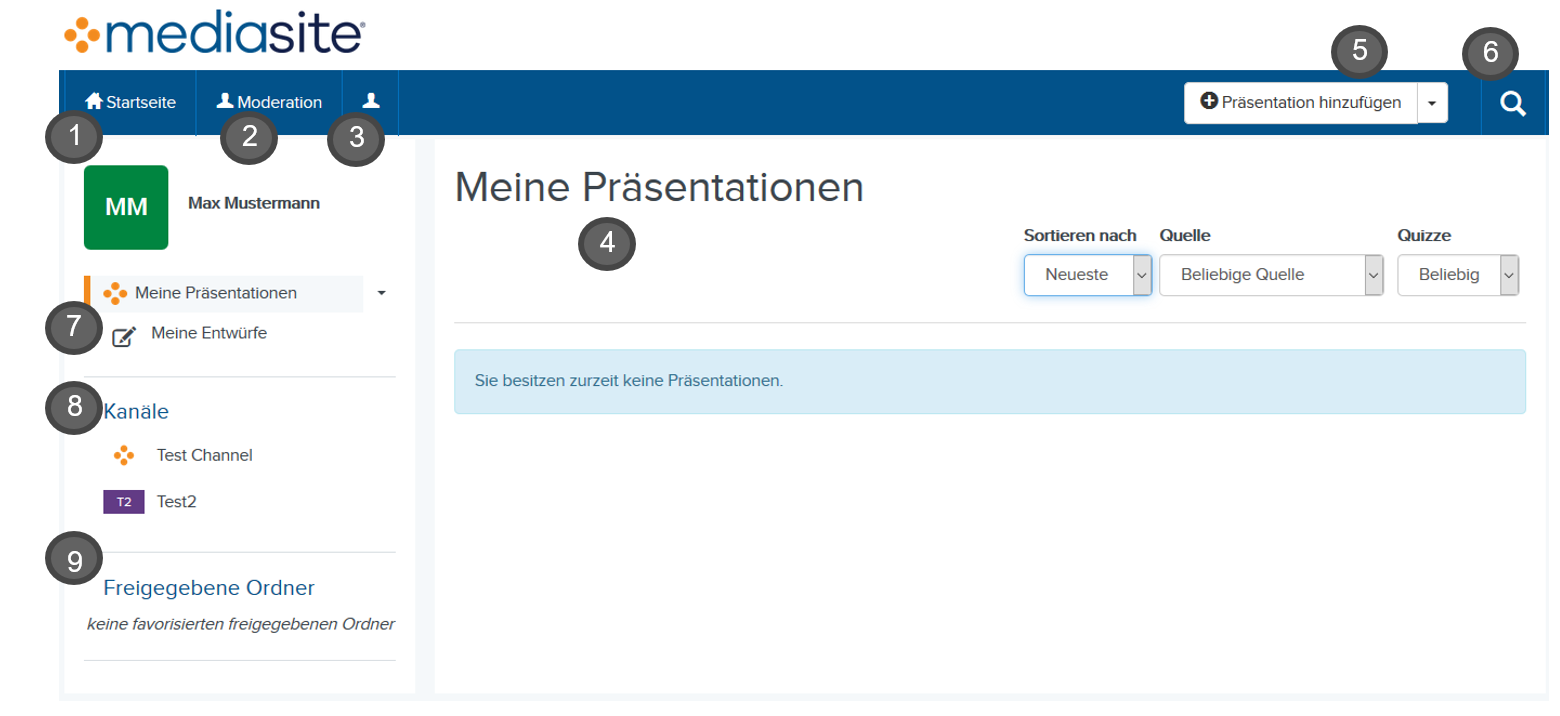
| 1 Homepage | This button returns you to this view. |
| 2 Moderation | Here you can manage comments on presentations.. |
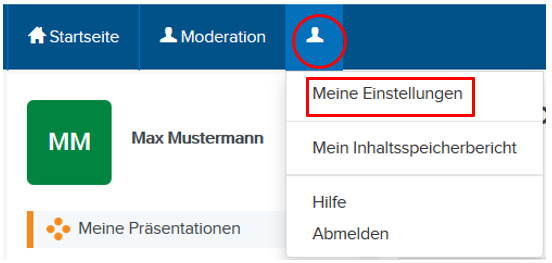
| 3 User Settings | Manage your profile (My Settings) or log out (Logout). |
| 4 My Presentations | View an overview of your presentations. |
| 5 Add Presentation | Click this button to upload your own videos. |
| 6 Search | Use this function to search for media. |
| 7 My Drafts | Presentations created are automatically saved here as drafts. These are not visible to others and can be edited further. |
| 8 Channels | Channels are created to structure your media. |
| 9 Shared Folders | Under SHARED FOLDERS, you can share media with other Mediasite users or have media shared with you. |
Setting Up Your Profile
1. Click on User Settings and then on My Settings.
2. You will see several customization options.
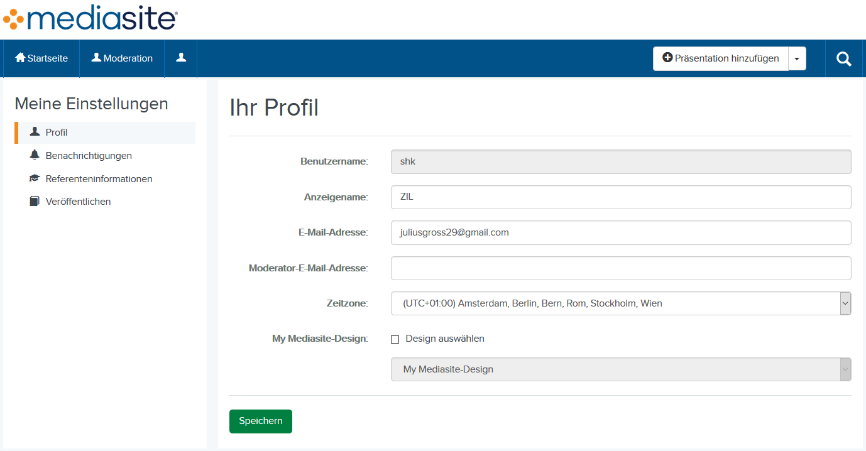
Under Speaker Information, you can fill in your professional information. The name should always be provided.
Click on Save to store your changes. 
Channels and Shared Folders
Channels help organize presentations thematically. They allow for shared content collection, collaborative moderation, and uniform display. A significant advantage of channels is the ability to embed annotations, similar to footnotes, where additional information, links, or sources can be provided.
Creating Channels
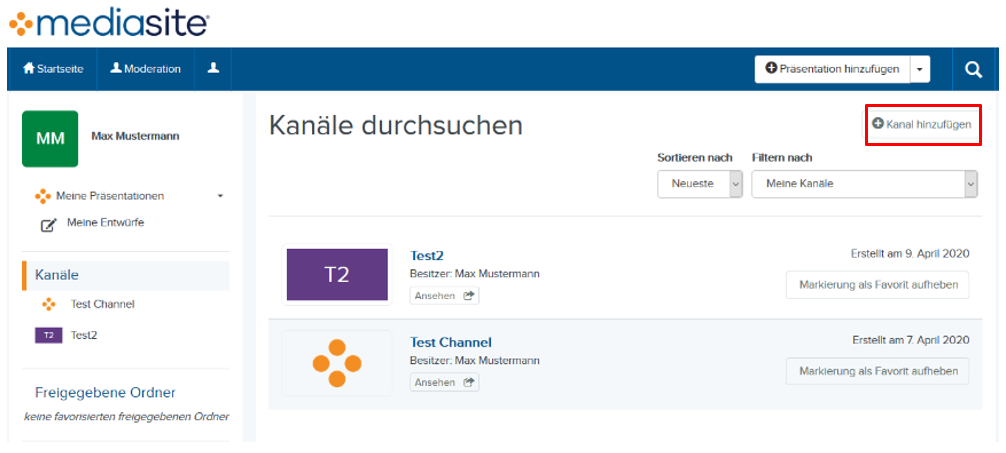
1. Click on Channels.
2. In the upper-right corner, click on Add Channel.
3. Enter a descriptive name and description. If necessary, upload images and change the channel’s color.
4. Set the Channel Functionality.
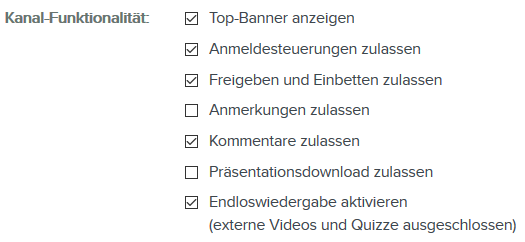
The highlighted settings are pre-configured and should be sufficient.
You can also modify the following:
- Show Top Banner: Displays selected images as channel thumbnails.
- Allow Sign-in Controls: Enables login and logout from Mediasite on the channel page.
- Allow Sharing and Embedding: Allows unregistered viewers to share videos via email or embed them using a direct link.
- Allow Annotations: Annotations allow owners to add searchable additional information to the video.
- Allow Comments: Viewers can leave comments.
- Allow Presentation Download: Presentations can be downloaded if this option is selected in the presentation editing menu (Edit Details > OUTPUT > Publish-To-Go).
- Enable Endless Playback
5. Click on Create Channel.
Displaying the Channel in the MyMediasite Homepage
1. Click on Channels.
2. Click on Mark as Favorite next to the channel.
Moving Videos and Presentations
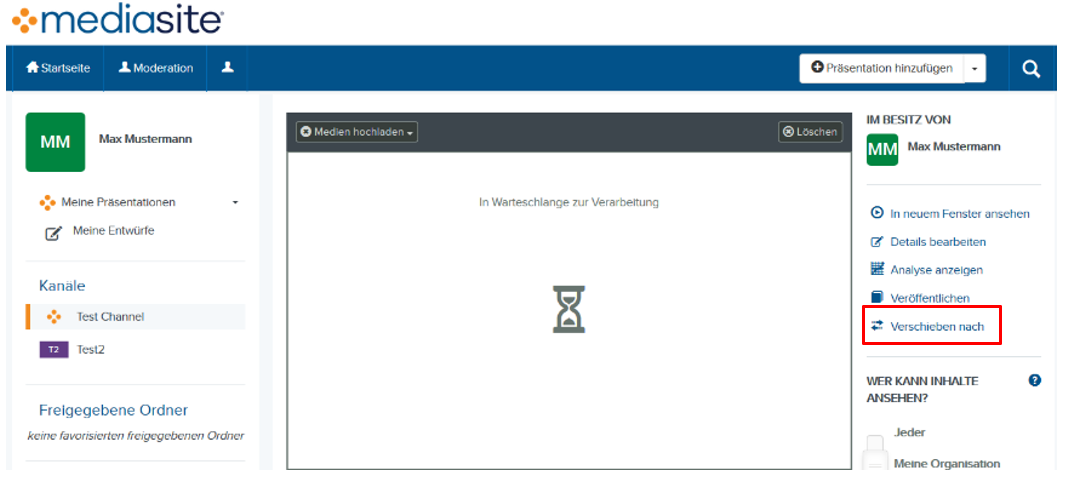
1. In the MyMediasite portal, click on Add Presentation.
2. On the right, click on Move to. This option allows you to move your presentation into a channel.
3. Place the presentation in the desired channel.
Click on Move Presentation. 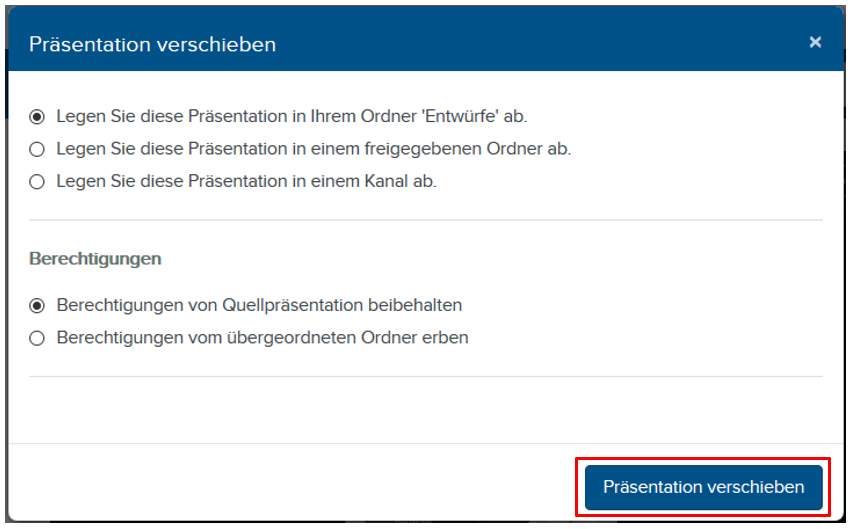
Shared Folders
Shared folders are used for collaborative processing of presentations and can only be created by Mediasite administrators. Please contact the Center for Innovative Teaching (zil@haw-landshut.de) for assistance.
Adding Media
1. Click on Add Presentation in the upper menu bar. 
2. Click on Browse Files under „Upload New Video“. 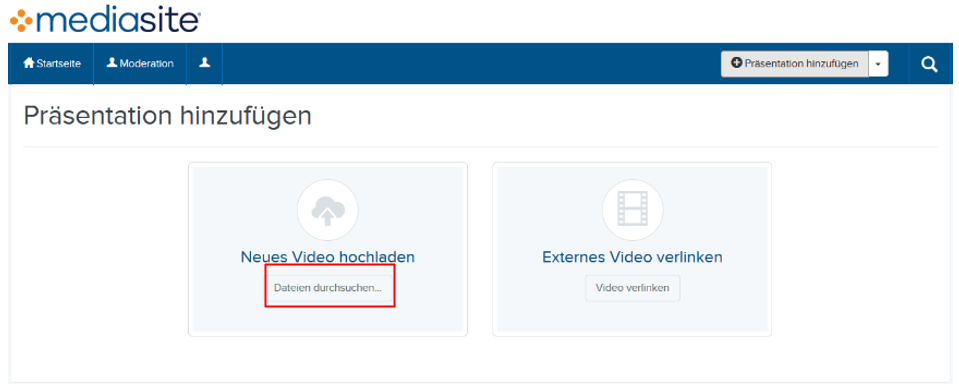
Select the video. 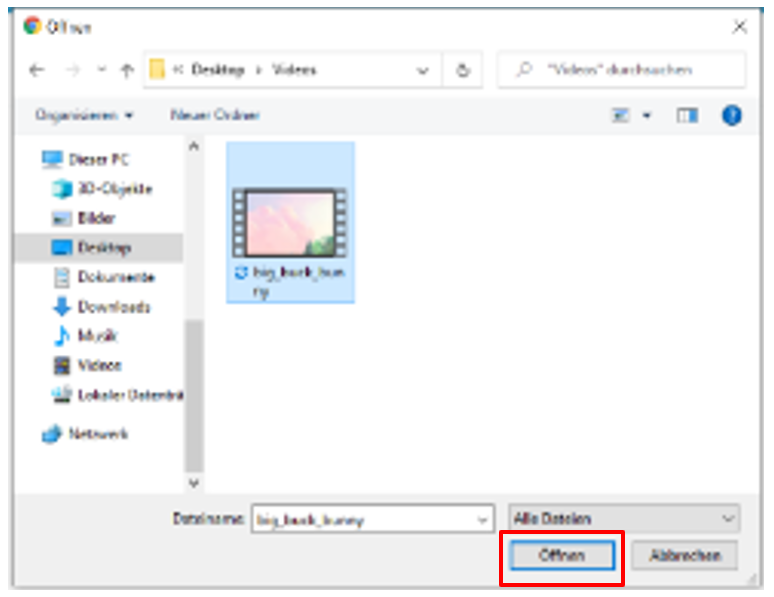
Note: Please upload videos in the following formats: .mp4, .mov, .avi, .wmv, .wav.
3. In the „New Presentation Details“ dialog box, enter a name and description, and select a destination folder.
Click on Create Presentation.

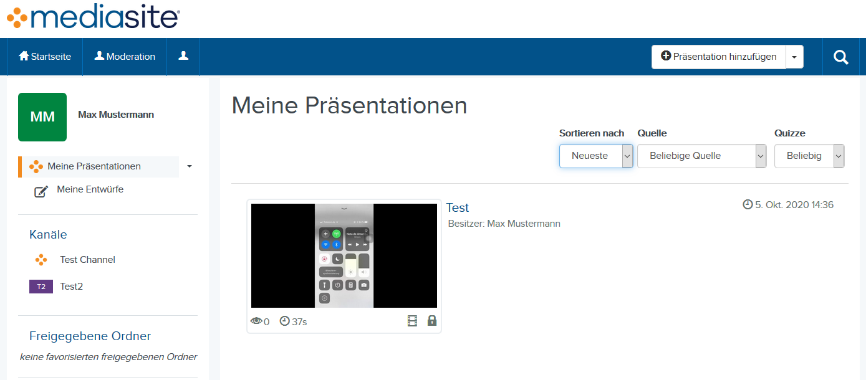
4. You will find your presentation under My Presentations.
The video will then be uploaded to the video server.
5. By default, your presentation is set to Private. Click on the lock icon in the bottom right of the video to change it to Viewable. This setting can be changed later.
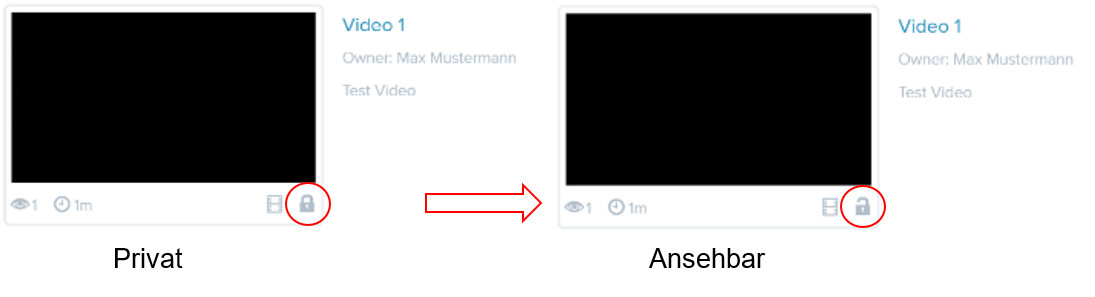
Note: Your presentation must be marked as „Viewable“ to embed it in Moodle.
Media Settings
When you click on the presentation, you will see the title and description below the video. On the sidebar, you have several settings available. The most relevant ones are:
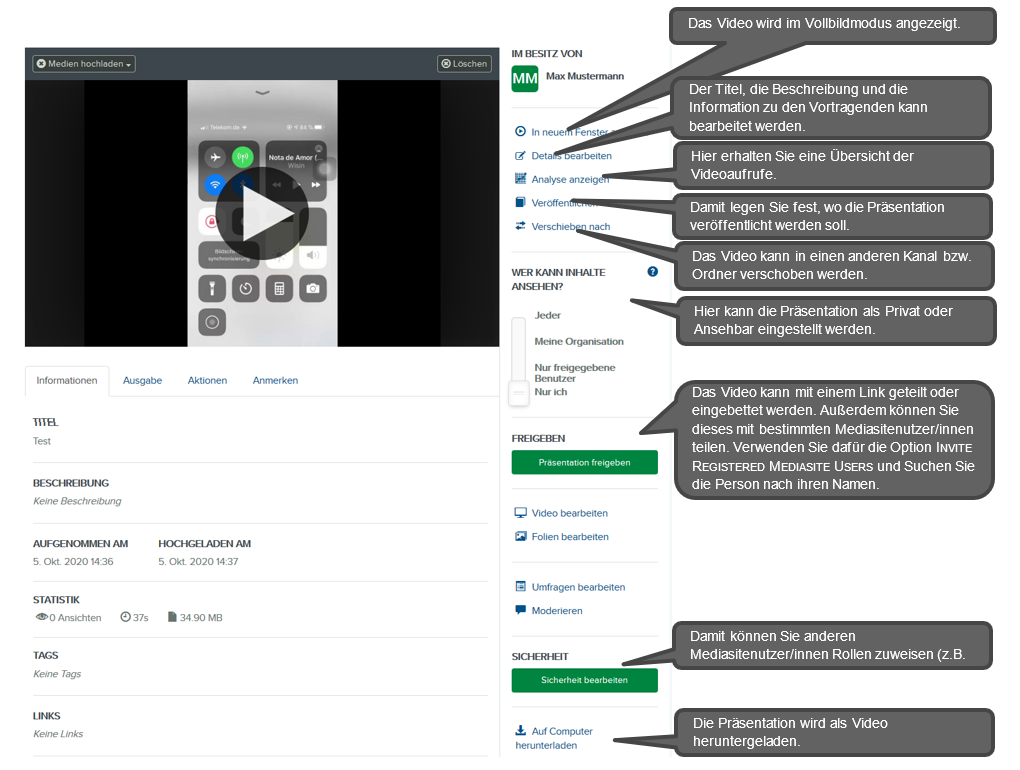
Other options allow you to edit the presentation and interact with students. You can upload slide images and embed questions.
Such content can be more easily created using h5p in Moodle (see separate guide).
Further information (currently only available in English) can be found at: https://docs.mediasite.com/mymediasite/
Embedding Videos in Moodle
Note: Please DO NOT use the standard Moodle “File” activity to upload videos!
1. Go to the course where the video is to be embedded.
2. Click on Turn Editing On in the top right.

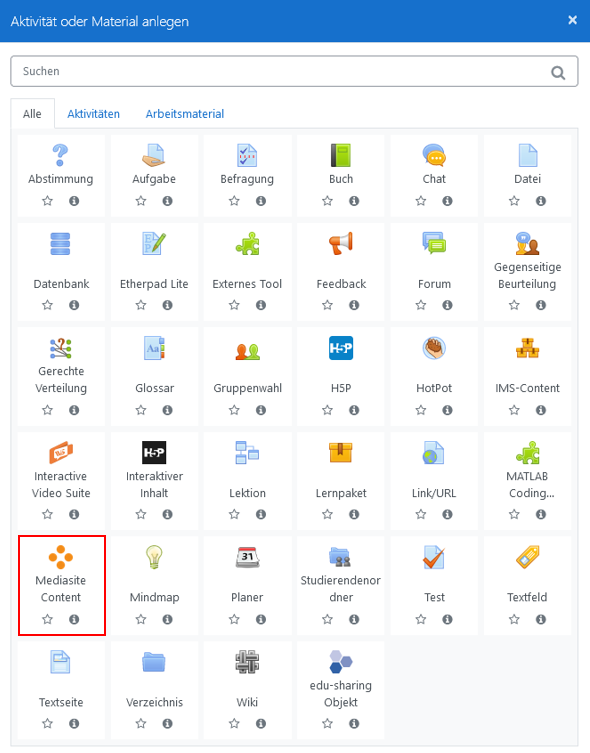
3. In the topic section where the video should be embedded, click on Add an Activity or Resource.

4. In the new window, scroll down and click on Mediasite Content.
5. In the new window, click on Add Existing Media and select Presentation.

6. In the search field in the top right, type and search for the title of the event you provided to the ZIL.

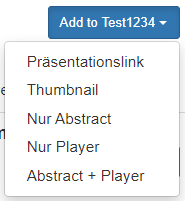
7. Find the correct video in the results list and click on Add to open a submenu. Select the first entry Presentation Link.
8. In the new window, you can enter an alternative title for the video under Title.
9. Click on Save and Return to Course.
Done! The video link will now appear in the Moodle course.